
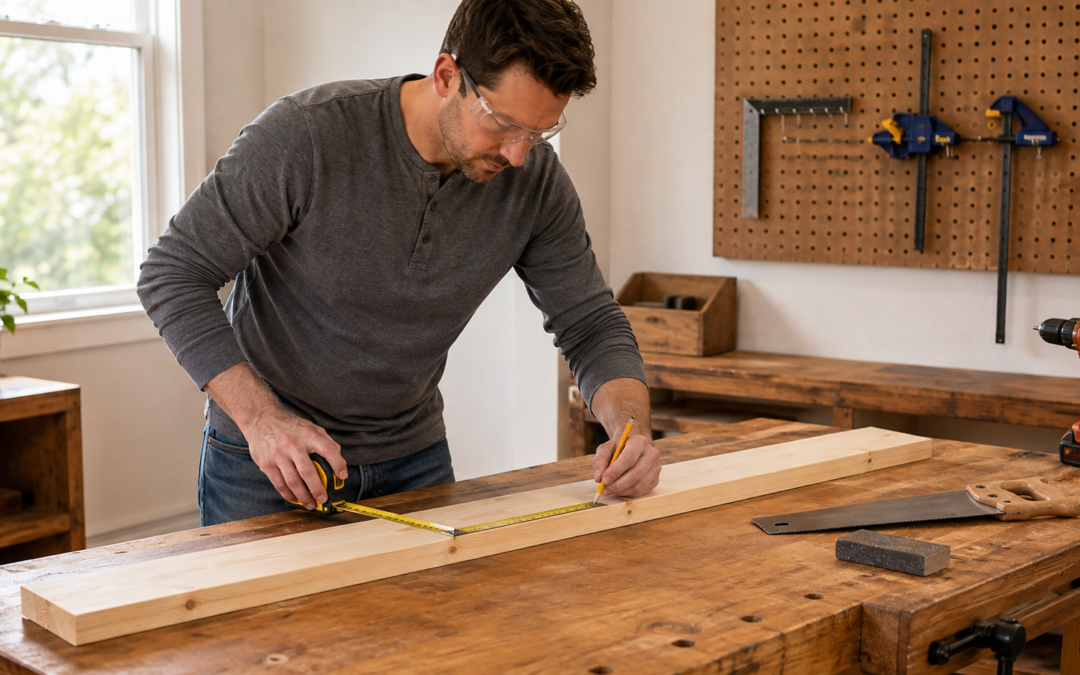
Start With a Safe, Usable Work Area
Choose a dry, well-lit space with enough room to move around the full length of your boards. A garage, basement workshop, shed, or sturdy outdoor table may work. The surface should be stable and at a comfortable height.
Keep the floor free of cords, offcuts, and sawdust. Provide ventilation when sanding or applying finishes. Keep children, visitors, and pets outside the active work area. Good lighting is especially important when reading a tape measure, following a cut line, or checking whether two parts meet squarely.
Before using any tool, read its instructions and inspect it for damage. Wear safety glasses when cutting, drilling, hammering, or sanding. Use appropriate hearing protection with loud power tools and control airborne dust through ventilation, collection, and suitable protective equipment.
Basic Tools You Can Use for Your First Projects
You do not need to buy everything at once. Begin with tools that support several projects:
- A tape measure for dimensions and layout
- A combination square or speed square for straight, square lines
- A pencil with a sharp point for accurate marks
- Two or more clamps for holding work securely
- A hammer and a basic screwdriver set
- A drill/driver with common drill and driver bits
- A handsaw, or a jigsaw used according to its manual
- Sandpaper in coarse, medium, and fine grits
- Safety glasses and task-appropriate hearing and dust protection
A workbench is useful, but a sturdy table with a sacrificial board on top can be enough for early projects. Never cut or drill into a surface you need to preserve.
Choose Beginner-Friendly Wood
Straight, dry, surfaced boards are easier to use than rough or badly twisted lumber. Pine and other commonly available softwoods are popular for beginner projects because they are readily available and generally easy to cut and fasten.
At the store, sight down the length of each board. Avoid pieces with severe bows, twists, splits, or loose knots near planned cuts. Minor imperfections can be acceptable, but a badly warped board makes square assembly difficult.
Pre-cut project panels and dimensional lumber can reduce cutting. Some stores may offer cutting services, but confirm the accuracy and allowed cuts before relying on them.
Learn the Five Foundational Skills
1. Measure from one reference edge
Pick one straight edge and use it consistently. Changing reference edges can introduce small errors that add up during assembly.
2. Mark a complete cut line
Use a square to carry the mark across the board. Place a small X on the waste side so you remember which side of the line to remove.
3. Secure the work
Clamp the board before cutting or drilling. A moving board produces inaccurate work and increases risk. Position clamps where they will not interfere with the tool.
4. Predrill near ends and edges
A pilot hole can reduce splitting and make screws easier to drive. Match the pilot hole to the screw and wood rather than using one size for every situation.
5. Sand in stages
Begin with a grit appropriate for the surface, then move through finer grits. Sand with the grain and remove dust before inspecting the result.
Select a Realistic First Project
Choose a project with straight cuts, fewer than ten parts, ordinary fasteners, and no complicated joints. Wooden bookends are an excellent first project because they use small pieces and teach square assembly. A key rack or simple tool tote is a good next step.
Allow more time than the instructions suggest. A project described as taking two hours may take a beginner an afternoon because tool setup, checking measurements, correcting small mistakes, and waiting for glue or finish all take time.
Your First-Project Workflow
- Read the entire plan before buying materials.
- List every finished part and dimension.
- Inspect the wood and mark defects to avoid.
- Measure and mark all parts carefully.
- Clamp each board before cutting.
- Dry-fit the pieces without glue.
- Predrill where needed and assemble in stages.
- Check for square before tightening everything.
- Sand until the surfaces and edges feel even.
- Apply a suitable finish according to its label, including drying and curing directions.
Common Beginner Mistakes
Avoid buying too many tools before knowing which projects you enjoy. Do not assume every board is straight, every corner is square, or every printed plan matches the actual thickness of your lumber. Most importantly, do not hurry a cut because the setup is taking longer than expected.
Small mistakes are part of learning. If two parts do not fit, stop and identify whether the problem is the measurement, cut, board shape, or assembly order. That habit will improve every future project.
Frequently Asked Questions
Can I start woodworking without a table saw?
Yes. Many beginner projects can be completed with pre-cut lumber, a handsaw, or an appropriate portable saw. This series intentionally avoids requiring a table saw.
How much space does a beginner need?
You need enough stable working space to support your materials and move safely around them. A compact garage corner or sturdy outdoor worktable can handle many small projects.
What should my first woodworking project be?
Choose a small project with straight cuts and simple assembly, such as bookends, a key rack, or a basic tool tote.