
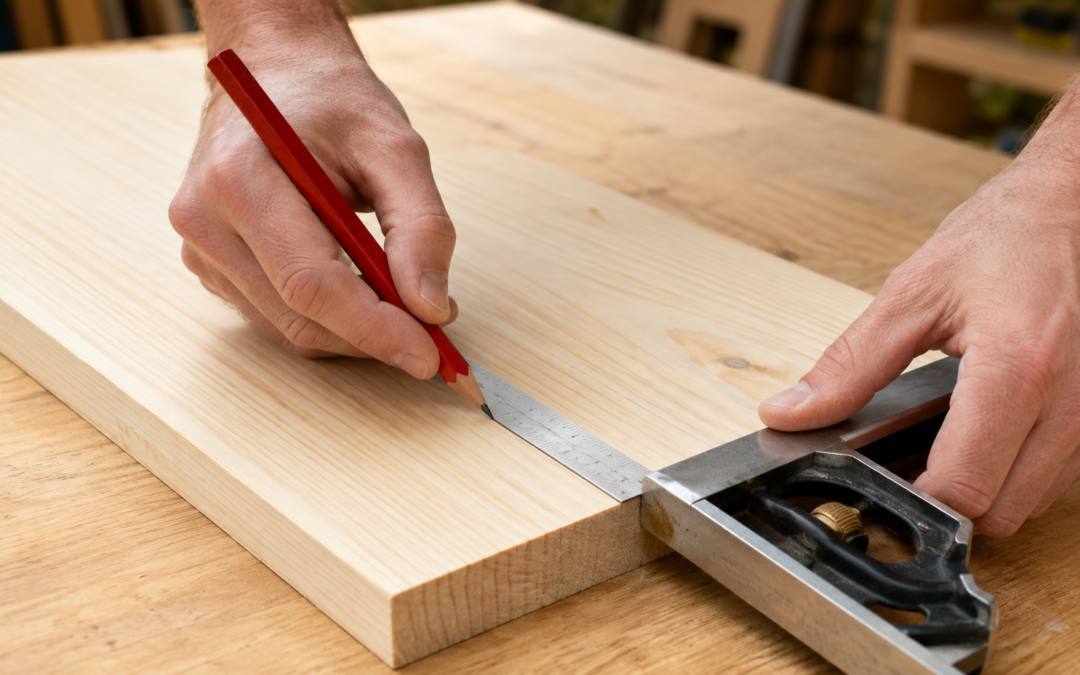
How to Measure and Cut Wood Accurately for Beginners[/caption]Understand Finished Size Before Marking
Start with a cutting list showing the quantity, finished length, width, and thickness of every part. Confirm the actual thickness and width of your lumber. A board’s common store name may not equal its exact measured dimensions.
If several parts must match, write “MATCH” beside them. Cut one accurate master part and use it as a physical reference when appropriate, rather than measuring each duplicate independently.
Inspect and Orient the Board
Look for splits, loose knots, deep dents, twist, and bow. Decide which face will show on the finished project. Mark defects you plan to cut away.
Choose one straight edge as the reference edge. Place your square against that same edge whenever possible. Switching between uneven edges can make cut lines disagree.
How to Make an Accurate Mark
- Hook the tape securely on the board’s end or begin from a clearly established reference point.
- Make a small pencil tick at the required dimension.
- Place the square against the reference edge.
- Draw a fine line through the tick across the board.
- Mark an X on the waste side of the line.
- Recheck the dimension before cutting.
A thick, fuzzy pencil line creates uncertainty. Use a sharp point and decide whether the finished piece ends at the near edge of the line, far edge, or another consistent reference.
Understand the Saw Kerf
The blade removes a narrow path of material called the kerf. If you cut directly through the part you want to keep, the finished piece may be short.
Position the blade on the waste side of the line so the desired piece retains its full measurement. The exact visual alignment depends on the saw and blade. Practice on scrap and inspect the result before cutting project parts.
Support and Clamp the Work
The board should remain stable throughout the cut, while the offcut must have room to separate without trapping the blade. Never arrange supports so the kerf closes and pinches the blade as the cut progresses.
Clamp the workpiece to a stable surface without placing a clamp in the cutting path. Check beneath the board for the bench, clamps, cords, or other objects the blade could contact.
Follow the saw manufacturer’s instructions for hand position, support, blade selection, guards, starting the tool, and completing the cut. Do not reach near a moving blade to catch an offcut.
Cutting With a Handsaw
Place the saw on the waste side and begin with short, light strokes that establish a groove. Once the cut is started, use smooth strokes and let the teeth work. Forcing the saw can bend the blade and pull it away from the line.
Watch both the top line and the saw’s vertical angle. If the cut starts to drift, make a gradual correction instead of twisting the blade sharply.
Cutting With a Jigsaw
Install a blade appropriate for the material and cut. Secure the work, place the shoe flat on the board, and allow the blade to reach operating speed before advancing when the manufacturer directs.
Guide the saw steadily without forcing it. A jigsaw blade can deflect, especially in thicker stock or tight turns. For a straight beginner cut, use a clamped guide only if the tool’s instructions permit it and you have tested the offset on scrap.
Make Matching Parts
For repeated parts, label each blank before cutting. Cut the first part carefully, verify it, and then use a stop or master reference suited to your method. Do not stack and cut multiple boards unless the tool, setup, and instructions explicitly support that practice.
After cutting, stand matching parts together on a flat surface. Small differences are easier to spot when their ends are directly compared.
Check the Cut
Use the square to check whether the cut is perpendicular to the reference edge. Measure the finished piece and identify any error before making the next one.
If a piece is slightly long, it may be corrected carefully through another controlled cut or sanding, depending on the amount. A short piece usually cannot be restored, which is why marking the waste side matters.
Practice Exercise
Use scrap wood to mark five equal pieces. Before cutting, label the intended finished part and waste side. Cut each piece, record its actual length, and compare the group. Then identify whether any differences came from marking, blade placement, board movement, or cut drift.
This short exercise is more valuable than hiding measurement errors inside a complicated project.
Frequently Asked Questions
Should I cut directly on the pencil line?
Usually the blade should remove material from the waste side while preserving the finished side of the line. Test the visual alignment for your saw and blade on scrap.
Why are my matching pieces different lengths?
Common causes include measuring each part separately, using different reference edges, drawing thick lines, and placing the blade on inconsistent sides of the mark.
Can sanding fix an inaccurate cut?
Sanding can correct a small amount, but it is inefficient for major size errors and may round an edge that should remain square.